How String Art From a Photo Works: From Algorithm to Thread
Learn how string art from photo designs are created, from image processing and pattern generation to the final handmade thread portrait.
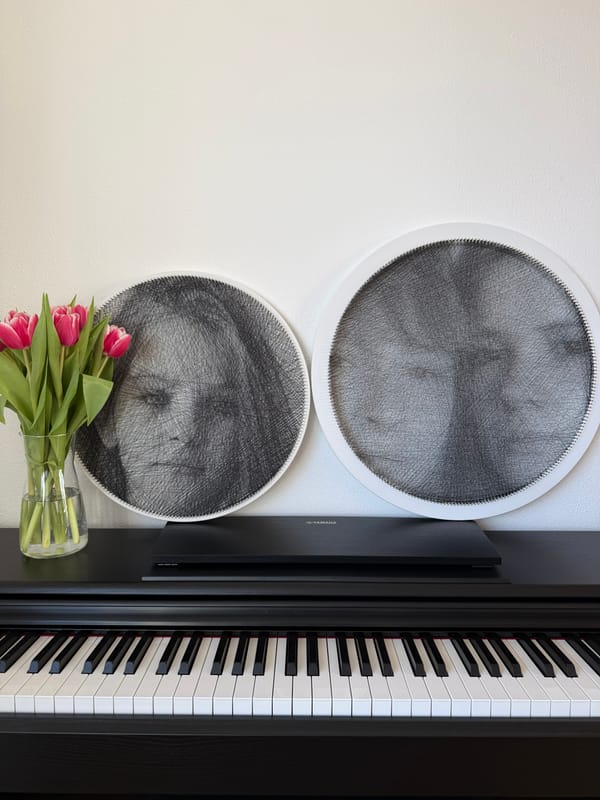
There is something oddly satisfying about seeing a photograph turn into a web of thread. At first glance, it almost feels impossible. A face, a dog’s expression, the shape of a profile somehow appears out of straight lines stretched between nails. It looks simple and complicated at the same time, which is probably why string art catches people so quickly.
What makes it even more interesting is that modern string art sits right between old-school craft and digital image processing. You still get the tactile part — wood, nails, thread, patience, your own hands — but the pattern itself can now be calculated from a real photo. That mix is where the magic happens.
What String Art Actually Is
At its core, string art is made by placing nails around a shape or base and wrapping thread from one nail to another. The image does not come from filled areas like in drawing or painting. It comes from the way straight lines overlap.
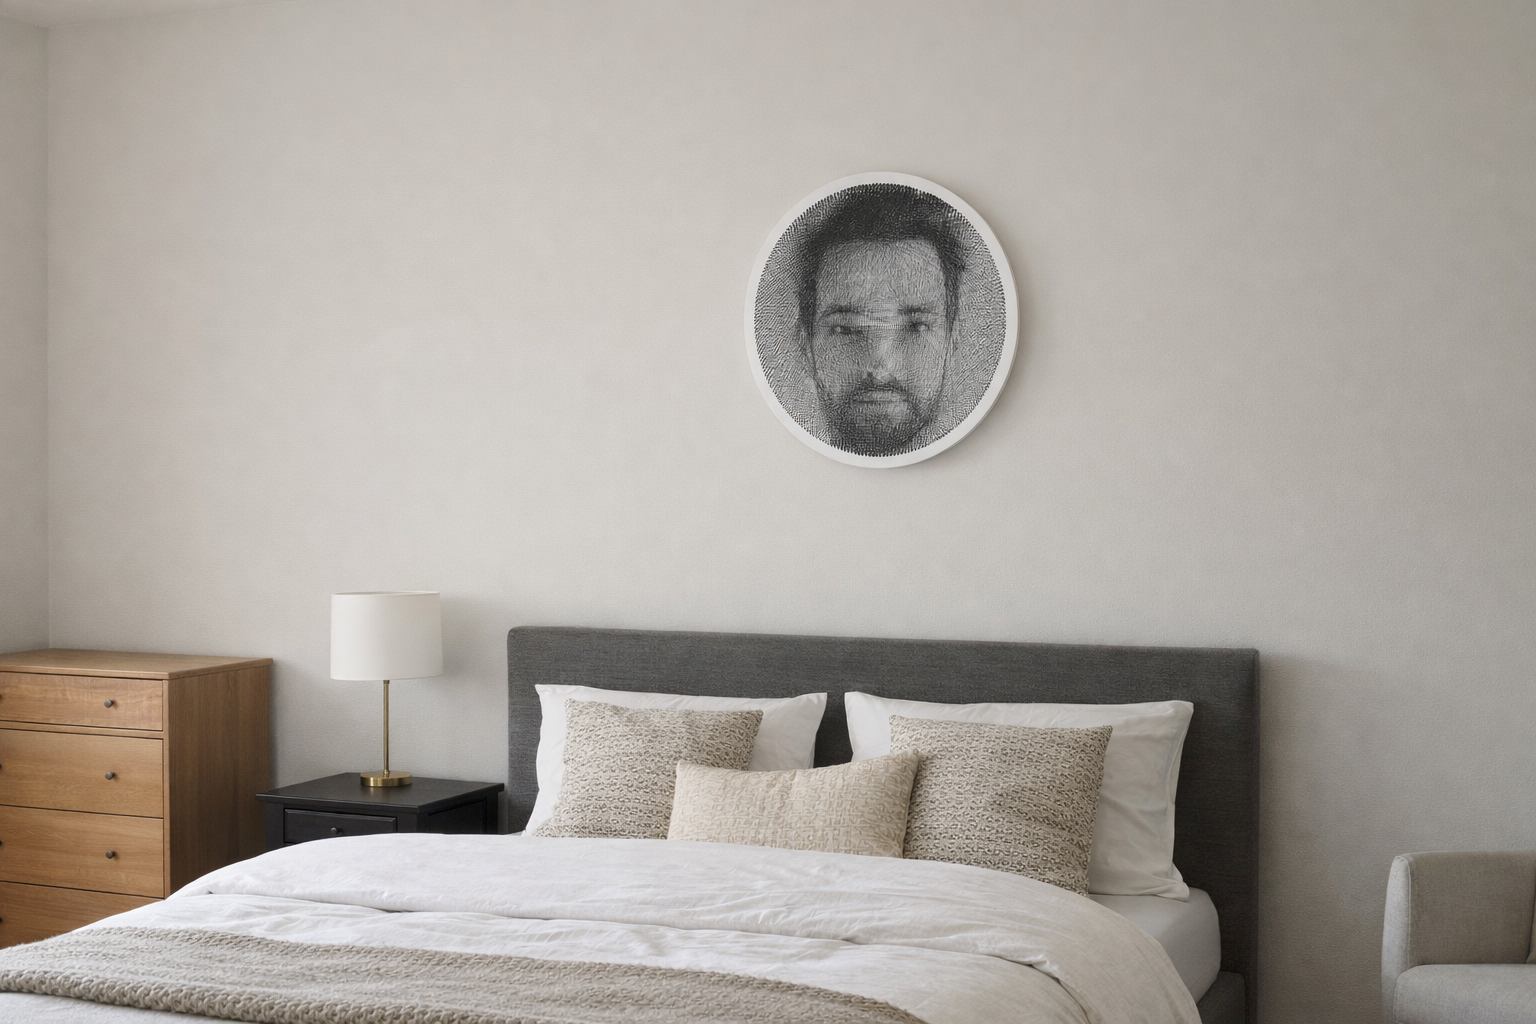
That is the part people usually find surprising. A single strand does not look like much. But once hundreds or thousands of lines cross over each other, darker and lighter areas begin to appear. Your eye does the rest. It reads the thread density as shading and suddenly recognizes a face, a pet, or a silhouette.
So even though every line is straight, the overall image can feel soft, detailed, and almost photographic from a distance.
Why Some Photos Work Better Than Others
Not every photo turns into string art equally well. Some images translate beautifully, while others end up looking muddy or flat. Usually, the difference comes down to a few very practical things.
Contrast matters a lot. If the photo has a clear difference between light and dark areas, the thread pattern has something solid to work with. Strong shadows, defined edges, and visible features make a big difference.
Lighting matters too. A well-lit face with visible contours is much easier to convert than a dim photo with soft, unclear features. The algorithm needs shapes it can “see,” even if it is not seeing them the way a human does.
Clear shapes are another big one. If the subject blends into the background, the result can lose definition. Simple backgrounds help because they keep the main focus where it should be. Too many distracting details behind the subject can confuse the final pattern.
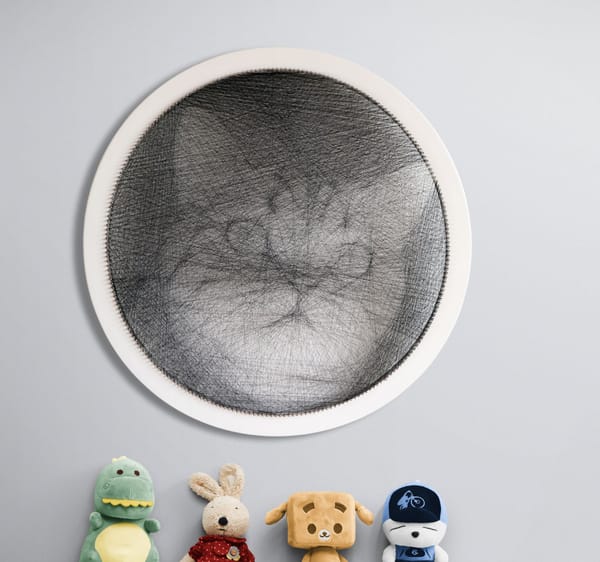
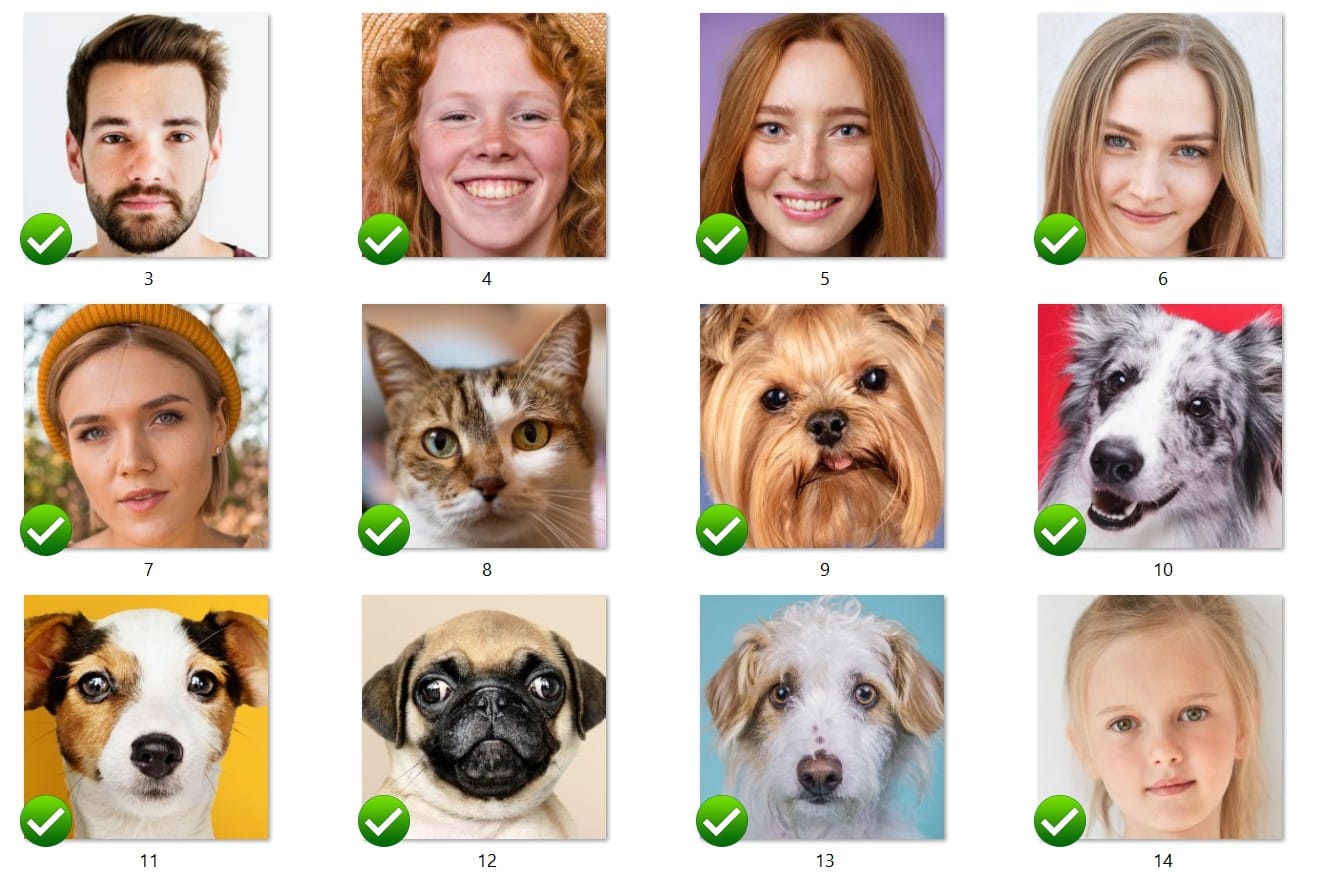
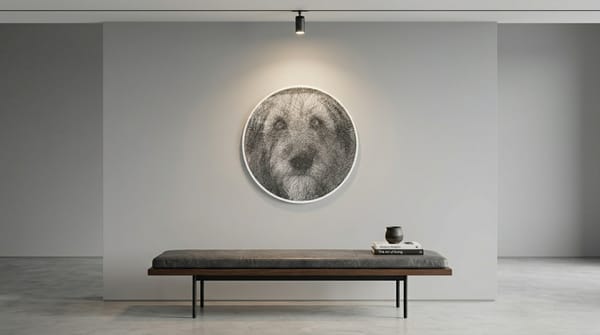
That is why portraits and pets tend to work especially well. A face has recognizable structure. Ears, eyes, nose, hairline, shoulders — all of those elements give the design something to build from. The same goes for animals with distinct outlines, especially dogs and cats with good side lighting or a strong front-facing pose.
Step 1: Uploading the Photo
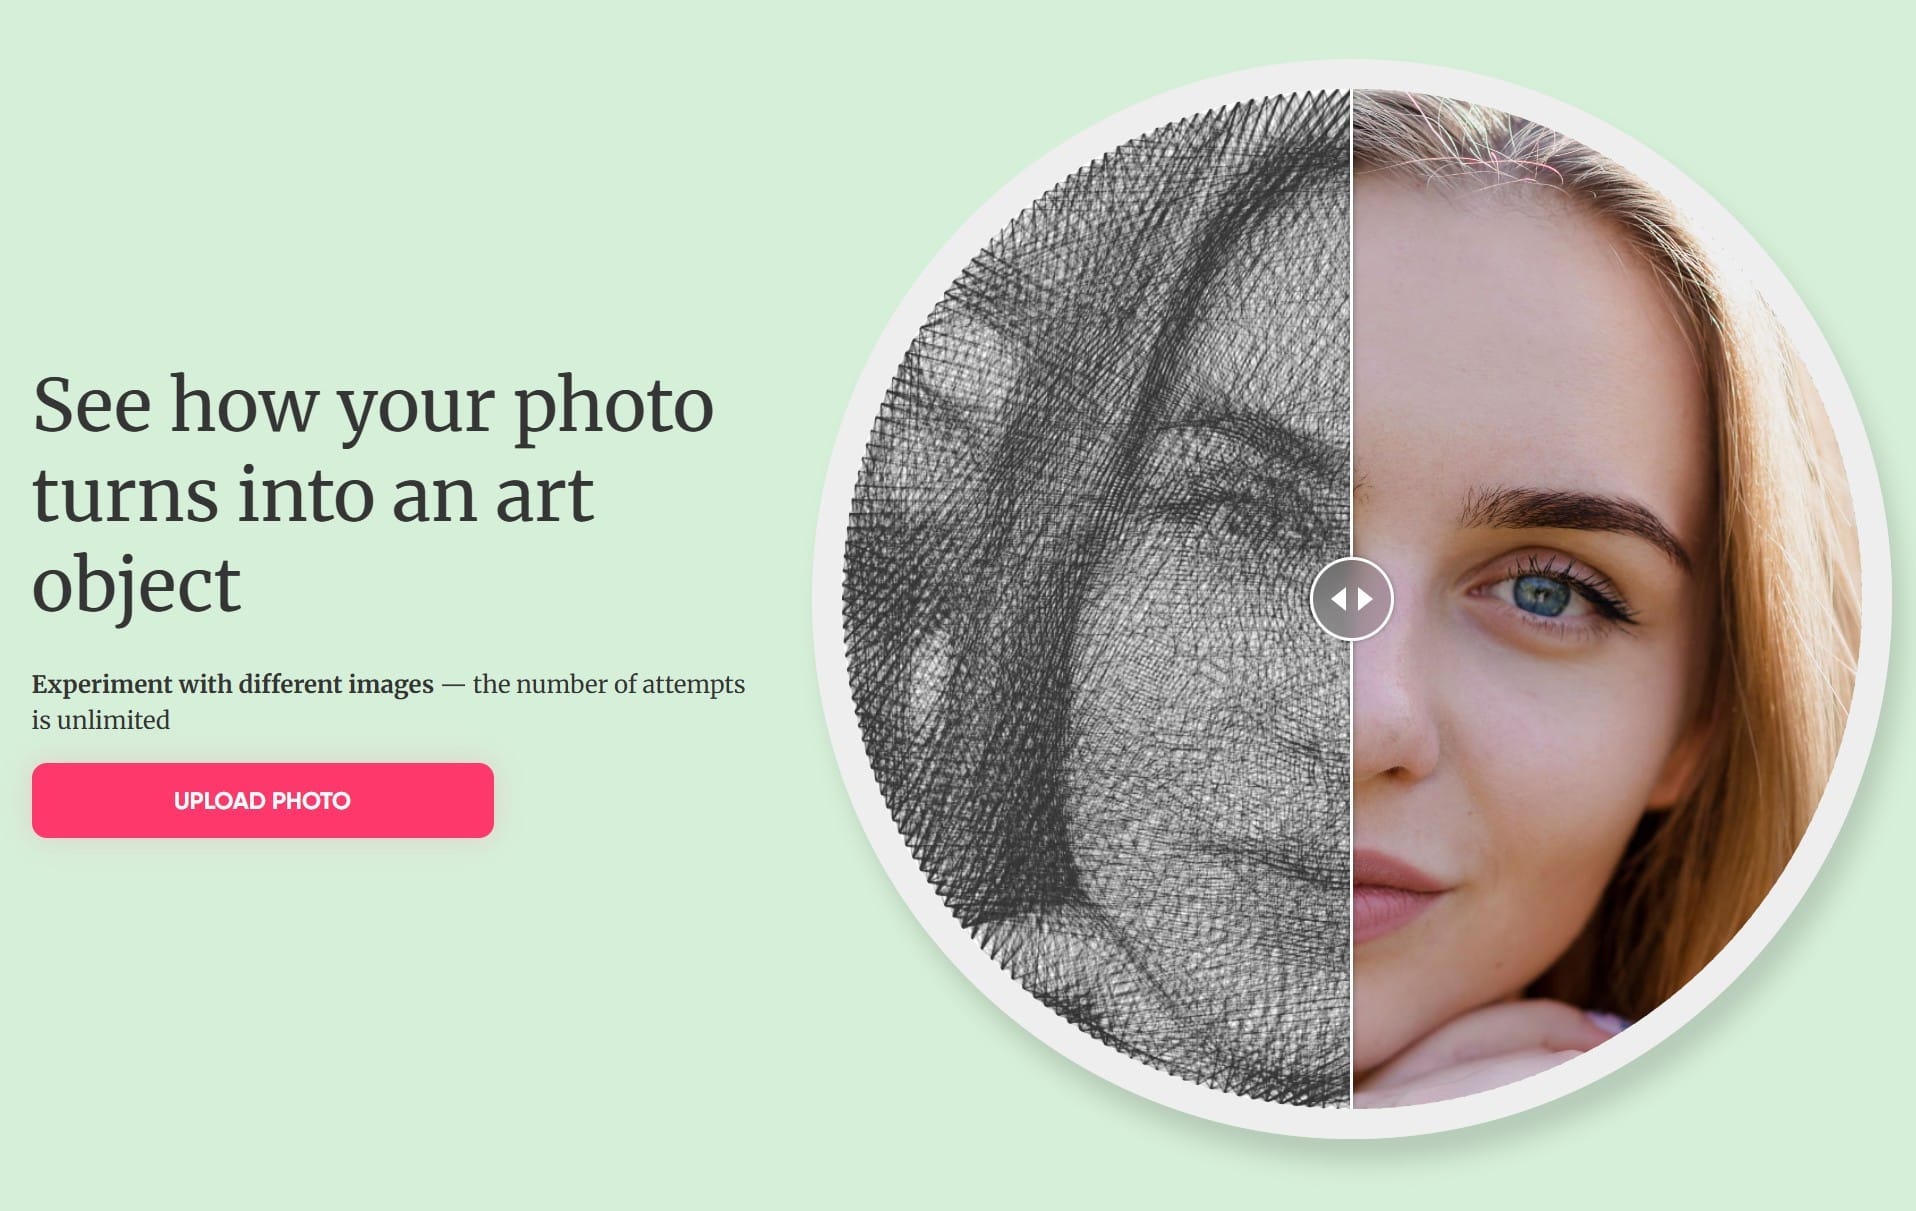
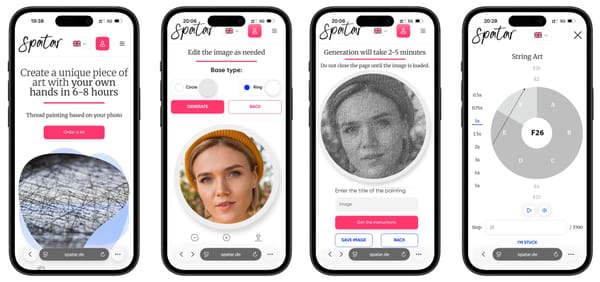
The whole process usually starts in a very simple way: you upload a photo into an online generator. From the user side, that part feels easy. Pick an image, send it in, and wait for the software to prepare it.
What happens next is more interesting than it looks. The software is not just storing the picture. It is getting it ready for thread conversion. That usually means simplifying tones, identifying the most useful contrast, and adapting the image to the format of the chosen base.
In other words, the photo is being translated from “camera image” into something that can eventually be built with thread.
Step 2: How the Algorithm Builds the Pattern
This is the part people usually ask about: how does the software actually turn a photo into a thread path?
The simple version is this. The program looks at the image and tries to recreate dark and light areas by choosing which lines should be added between nails. Every new thread line slightly changes the overall picture. Over time, the pattern becomes closer and closer to the original photo.
Instead of thinking in pixels, it helps to think in layers of fine lines. Where more lines overlap, the area looks darker. Where fewer lines pass through, it stays lighter. That difference in line density is what creates shading.
The software keeps checking which thread connection improves the image most. Then it adds another. And another. This happens thousands of times. Bit by bit, the design becomes a usable guide for a custom string art portrait.
There is no need to get too technical about it. What matters is that the algorithm is constantly comparing the target image with the current thread image and choosing the next line that makes the result look better. It is basically building tone out of straight connections.
Step 3: Previewing the Result
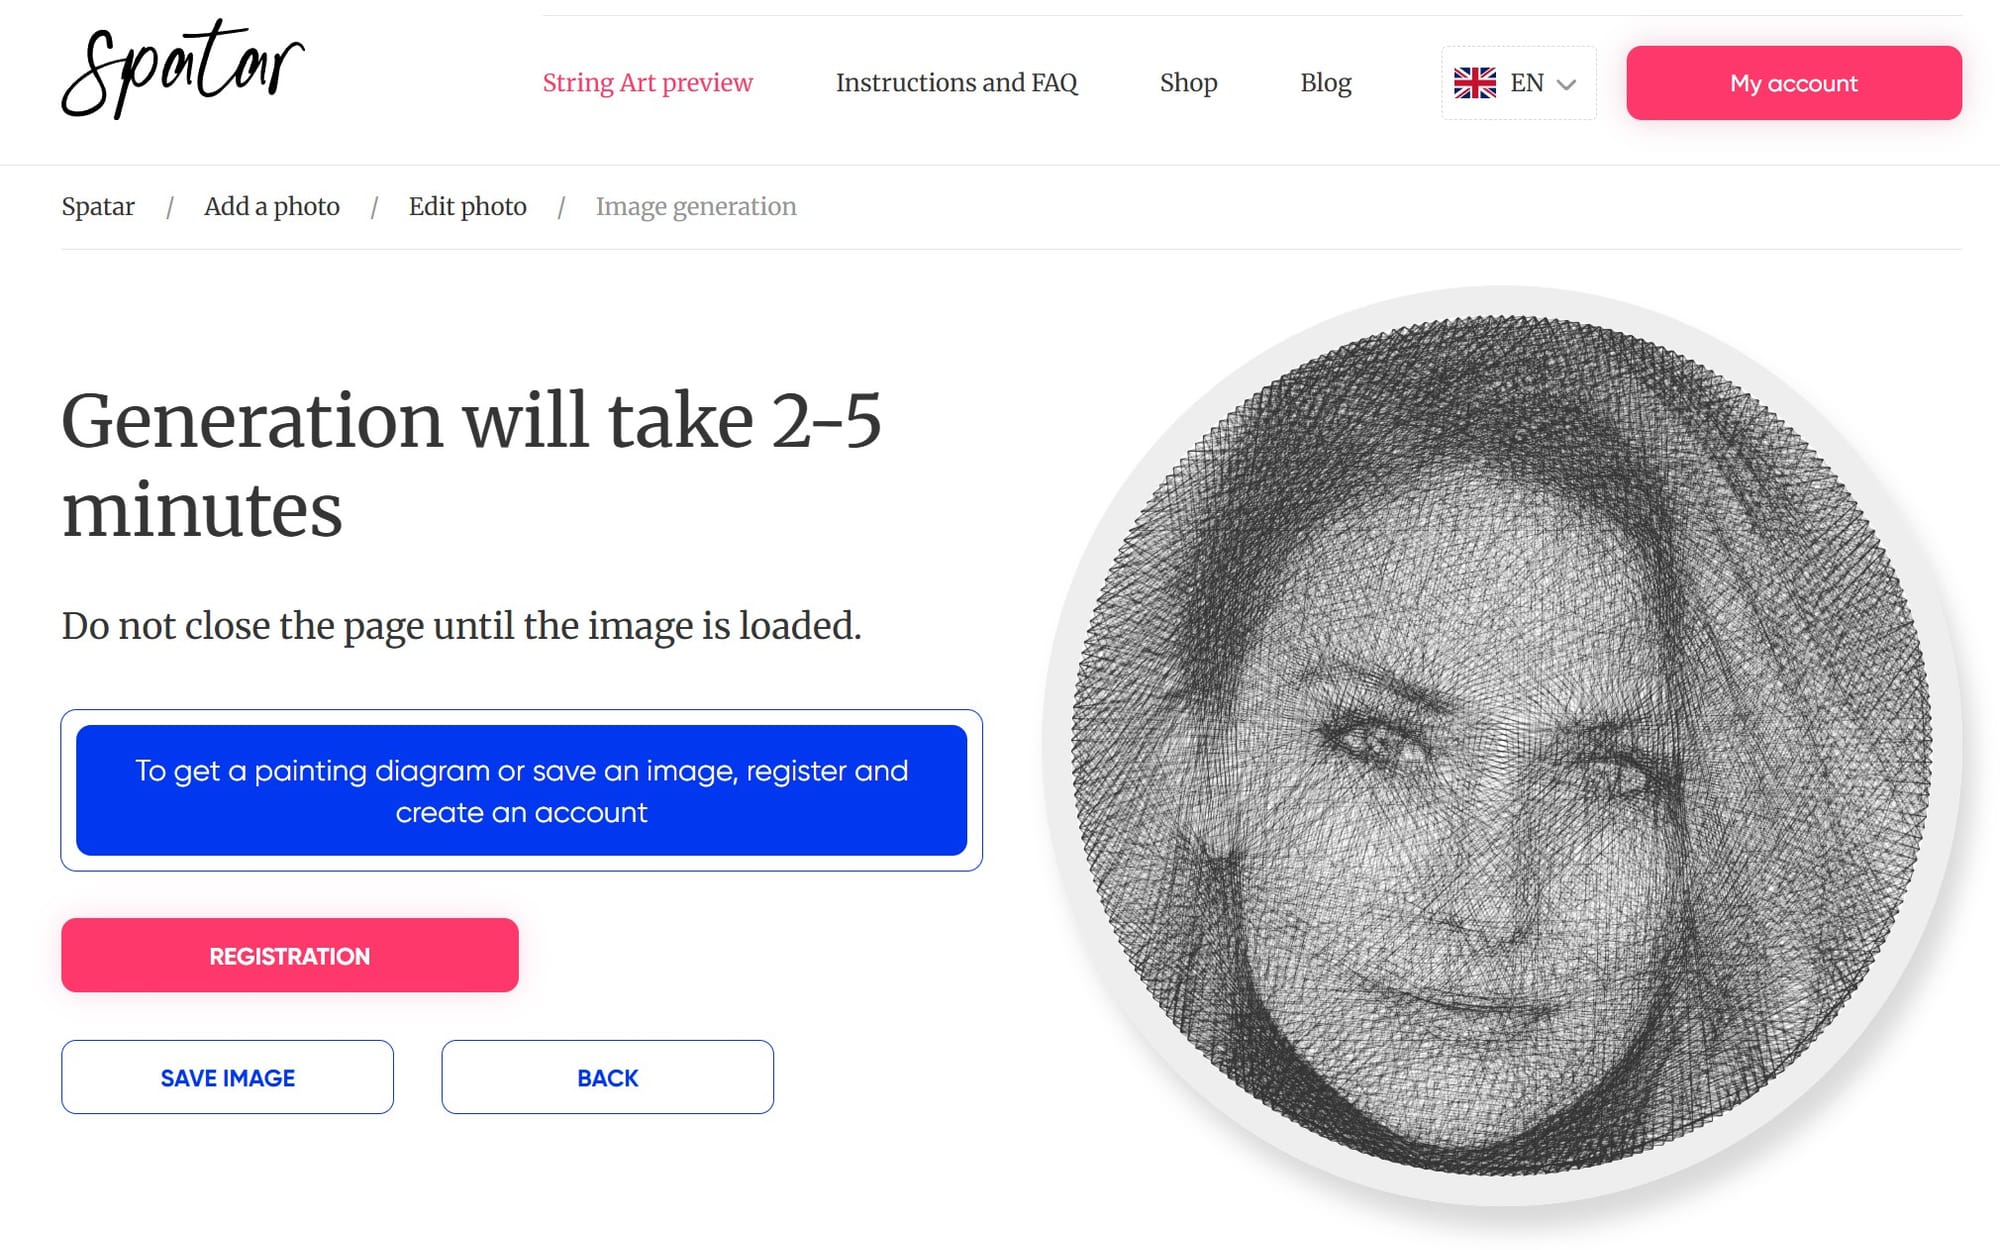
One of the nicest parts of modern string art is that you do not have to commit blindly. Before touching the thread, you can usually see a preview simulation of the finished result.
That preview is incredibly helpful, especially for beginners. It shows whether the photo has enough contrast, whether facial features are readable, and whether the final portrait will actually feel balanced. If something looks off, it is much better to notice it at this stage than halfway through winding.
It also makes the whole process feel more approachable. A lot of people like the craft idea but worry they will spend hours making something they cannot really picture in advance. The preview removes a lot of that uncertainty.
Step 4: Turning Instructions Into Thread Art
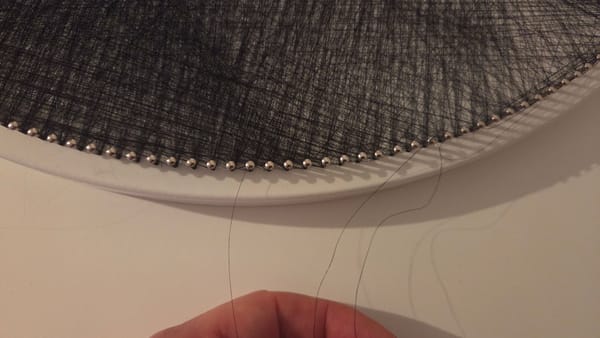
Once the pattern is ready, the digital part steps back and the handmade part begins.
You start with the prepared base, where the nails are already placed around the edge in a precise layout. Then you follow step-by-step winding instructions that tell you which nail to connect next. Nail 12 to 148. Then 148 to 67. Then 67 to 201. On paper, it sounds repetitive. In practice, it becomes oddly calming.
This is where a DIY string art kit makes the process much easier for people who want the craft experience without figuring out all the geometry themselves. The planning has already been done. What remains is the actual making.
Most pieces take around 6 to 8 hours to complete, depending on your pace. Some people do it in one long session. Others spread it across a few evenings. Either way, the image gradually appearing out of thread is what keeps you going.
Why Circular String Art Works So Well
Circular string art has a real advantage when it comes to turning photos into thread portraits.
Because the nails are arranged around a full circle, the thread can cross the image from many different angles. That gives the design much more flexibility than a simpler layout. Lines can pass through the eyes, cheeks, hair, jawline, and shoulders from dozens of directions, which helps build detail more naturally.
It is a clever structure, really. The circular format allows complexity without making the process look chaotic. That is one reason string art from photo designs often works so well in round formats.
From Digital Pattern to Handmade Artwork
What I like most about this whole process is that it never feels fully digital and never feels fully manual either. The software does the heavy lifting of calculation, but it does not make the artwork by itself.
The final piece only exists because someone sits down, follows the path, adjusts the tension, keeps the thread clean, and stays with it line after line. Tiny decisions made by hand still matter. The craft is very real.
That is also why the finished work has a different feeling than a printed image. Even when the pattern comes from an algorithm, the result still carries the rhythm of the person who made it.
Conclusion
So, how string art works is actually pretty simple once you strip it down: a photo is analyzed, a thread path is calculated, and then that path is built by hand into a finished image.
But the experience of it does not feel simple in a boring way. It feels clever, tactile, and a little surprising. A custom string art portrait is technical in the background and handmade in the foreground, which is exactly why it stands out. You start with a photograph and end up with something much more physical, personal, and alive.
Share this article Share to
Written by
Join the conversation
Pet String Art From Photo: Turning Your Dog or Cat Into Wall Art
What to Do If the Thread Breaks During String Art
How a Photo Becomes String Art: From Algorithm to Thread